Kinkajou Project #7
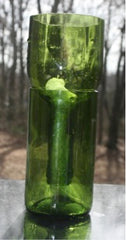
Wine Bottle Planter
by John Ratterree, US
STEP BY STEP INSTRUCTIONS:
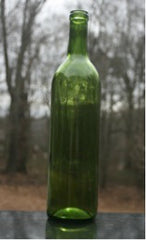
- I’d seen these in high end craft shops for $20 + dollars and once I got my Kinkajou, I knew I could make my own. Almost any 1 liter wine bottle will work but if it has a dimple in the bottom, you have to measure more carefully.
- Measure the bottle from the top to the flare of the neck. Turn the ruler over and mark this measurement up from the bottom plus ½ inch. A silver sharpie works real well on the dark bottles. (If there is a dimple in the bottom, measure from the top of the dimple not the bottom of the bottle.


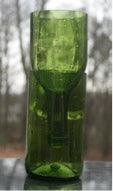
3. Score and cut the bottle. Finish both pieces. Here personal preference comes into play. I like to leave the frosted look on the cut so I only sand out the sharp edges with 80 grit paper. You will not be drinking from these so a real smooth finish is only for aesthetics.


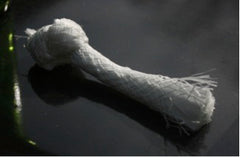
4. To pull the water up the bottle neck and seal the dirt in place, I use a replacement wick for tiki-torches. The fiberglass does not rot and you get better wicking than with other synthetic strings. Carefully tie a knot in one end of the wick . Pull the knot so that the wick will reach the bottom of you bottle and it will keep the dirt from falling into the water chamber.


5. Pack the first layer of dirt in with a dowel or trowel handle then plant the occupants of your new planter.
6. Fill the bottom with water and the first time wet the dirt. After that watering will just involve filling the bottom chamber.
MATERIALS REQUIRED:
- Wine Bottle
- Ruler
- Silver Sharpie
- Tiki Torch Replacement Wick
- Soil & Plant(s)
- A Kinkajou Bottle Cutter and Included Accessories
- Sand Paper (Finishing Kit)
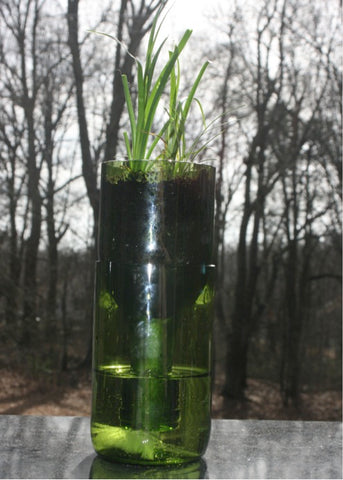
FINAL PROJECT: Window sill planter made from a wine bottle